Dirty work
- naullsy
- Apr 3, 2023
- 10 min read

Updated: Apr 3, 2023
Dirty work
And so we made it to Almerimar, the much vaunted place from Youtube promising to be one of the best (cheapest) places to prepare a boat for crossing the Atlantic. It was quite an accomplishment getting here for our family. All apart from ant having no sailing experience to speak of, getting a big boat prepped to live on then getting it what must be close to 4,000nm from our starting point has been no easy feat. So well done us.
As the kids are doing our Mallorca update, This one from me will be the time in Almerimar, then I’ll do another one from there to the Canaries with Serafin, then Canaries to Cape Verde, then across the Atlantic. Then true to form I’ll put my pen down for a while.
As an early warning, this will probably not be that interesting to all but the hardiest of nerds..
So, the boat list, the list of boat work, the beast to be tackled.
Man it was a list and I wish I still had it, but during a clean up it must have been thrown away in disgust and satisfaction of getting through most of it, but sadly not all of it. Fortunately, I at least have the tracker to read up on and remind myself of the work, those bits that weren’t seared into my memory that is…
So anyway the list:
Replace standing rigging
Repair thread on prop shaft
Replace Prop
Make new nut for prop (this was fun…)
Replace thru hulls and seacocks – in particular empty the remaining substance in the aft loo tank and get that working (had never worked since we had the boat)
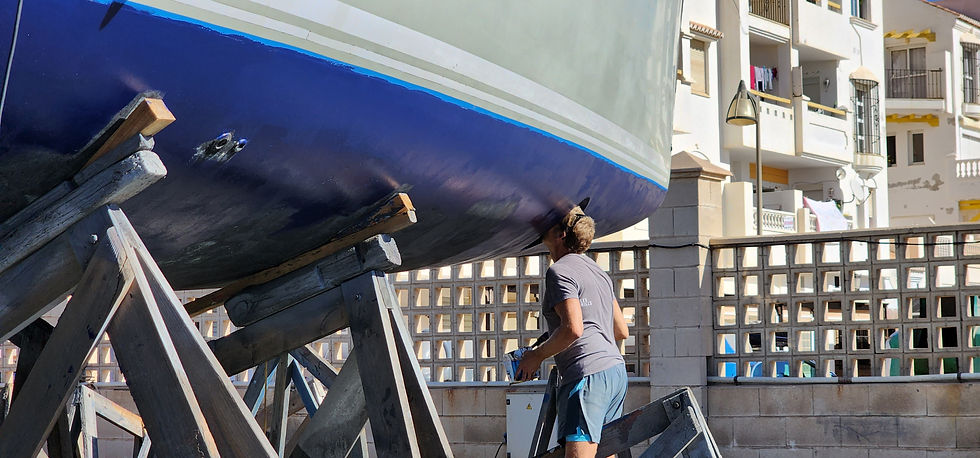
Sand underwater hull and antifoul
Fit mount and radar
Replace engine room fan
Clean heat exchanger
Change Engine oil
Flush and replace coolant
Replace raw water pipes and siphon breaker
Replace gearbox dipstick
Replace oil hose
Seacock bungs
Change impeller
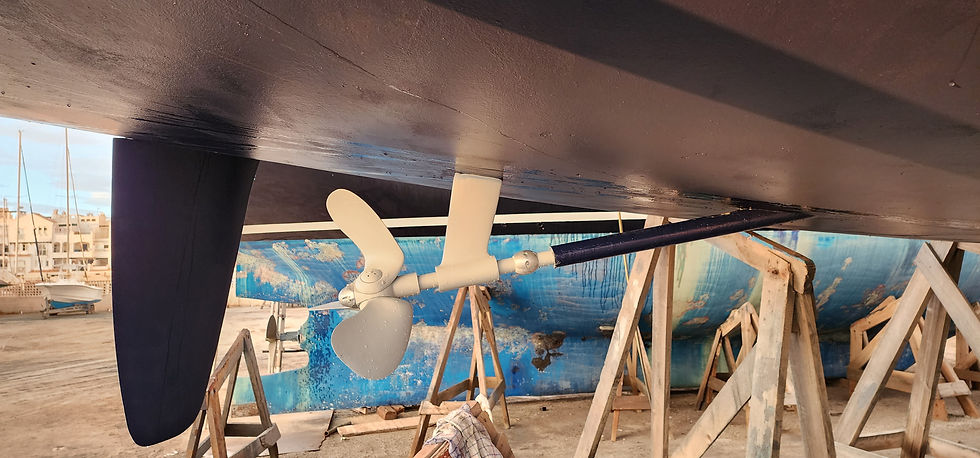
Replace main shaft seal / stern gland
Replace cutlass bearing
Repair port rudder
Foodshop
Replace masthead light
Run new running rigging where needed
Rig system for main preventer
Replace windlass switch
Polish hull above waterline
A lot of other things I can’t remember that didn’t make it into the done column
As anyone who has worked on a boat knows, one job on a list leads directly to another and the list of items to get the above completed spiralled out of control. The biggest fly in the ointment was the epoxy on the keel could be pulled off by hand in some places, less so in others so that took Helen and I each a day with scrappers to get it back to the point we could grind then apply new epoxy over the top before painting. Swearing flowed generously during this job but little did I know my vocal cords were only in their warmup phase, the worst was yet to come.
Firstly though, the boat needed to have it’s mast removed so the standing rigging (the steel wires that hold the mast up and take the load during sailing) replaced. This involved a crane tying a support around the mast then unhooking everything and lifting it off the boat. The stays themselves would then be made up in the workshop on site and then the whole thing reassembled and lifted back onto the boat. Unfortunately, it also involved dealing with Chris the owner of the rigging company who disliked anybody and everybody in the world, especially those paying large sums of money to have their standing rigging replaced. Chris would not make things easy, and especially enjoyed making every step of the process difficult and non-committal, especially relating to when things might actually be done, and the mere audacity of asking what time the crane was booked for brought a tirade of abuse and indignation. After our week and a bit in the yard I learned that it wasn’t personal, Chris simply hated everyone and thought the entire world is made up of idiots. When we had dates to meet, people to meet and an ocean to cross, this made normal activity such as departure planning very hard work. Fortunately, the guys that worked for him did a good job and were the only way to get information.
So with the mast down, the boat on the hard and the keel scrapped, I firstly dealt with the holes in the bottom of the boat. A poor dutch chap in the yard had followed the instructions on replacing thru hulls and seacocks but had to take the boat out of the water twice due to them leaking so I was keen for that not to happen to us. Time and money certainly didn’t allow it, let alone the thought of leaking thru hulls expanding into the subconscious mind so the new Tru Design installations would be 1 part thru hull, 3 parts Sikaflex. With daily checks revealing dry bilges for the 2 weeks after returning to the deep confirmed this was the right approach. Not without some swear words of course. The tricky beast was the aft loo that had never worked due to the seized seacock. When we were in very calm waters off Mallorca. I was able to siphon out the holding tank so in theory which was a hilarious job. The theory being there would only be a very small amount of stuff that lives in a loo from the holding tank pipe to the seacock (less than 1m) and I would just have to empty what was in said pipe into a bucket, fit the new thru hull and sea cock and re-attach the pipe. So armed with a bucket, the largest and most comprehensive 3M painting mask that exists and an armful of hope, I separated the pipe from the seacock over the bucket. The paint mask mostly did the job, but poor Colette arrived at the wrong time and asked “whatcha doing Da….”. That was the last I saw of her for a while but then breathed a very short sigh of relief that the siphon had done it’s job. All that was left to do was install the new hardware but unfortunately that and only that loo’s positioning meant it needed a special bend not that simply doesn’t exist in the Tru Design inventory. I made it work without it but only after much swearing and gnashing of teeth, and more Sikaflex of course. The rest were pretty straightforward, just grind, remove, clean, align, glue, glue, glue, glue and screw and hey presto, we have a watertight vessel. Result. The other item critical while the boat was out of the water were replacing the stern gland and cutlass bearings that the prop shaft goes through. It looked like the stern gland had been replaced at some point as there was a protection sleeve but the cutlass bearings were badly worn so that happened. Of course, you can only buy 55mm cutlass bearings and for some reason the hole was 54mm so that was a fun realisation. The cutlasses needed machining down so a bloke in the yard was found and they were taken away and trimmed.
The 3 other jobs that caused the most pain were sanding the waterline before anti fouling, mostly because I didn’t have any protective eye wear and sanding rather toxic paint into your face for a day gets very uncomfortable. Tu Meke had just been painted over and over again and this left lots of paint craters along this area which makes it easy for growing things to grow to so needed to get it bum smooth. This wasn’t difficult, just super gross and contributed to the masses of dust antifoul in the very gross shipyard and took ages to clean off the shower at the end of the day. Planet, I am very sorry for this.
So that leaves us with the 2 most challenging items. #1 was most definitely installing the radar. Physically mounting it to the mast lying in the shipyard was actually a doddle. Drill some holes, protect them then rivet and fix, easy. Getting cables to where they need to be on a boat is the direct opposite of that. During this job I was silently convinced several times that I wouldn’t be able to do this. Getting the cables the length of the boat through the cavities was easy and took about 5 minutes. Getting the cables down the mast was incredibly difficult with an average cable puller and having to get past the mast join. Getting the cables the 2m from the base of the mast to the side of the boat, and the 1m up the steering pedestal took over a day, and exhausted my extensive cursing library. Fortunately, a few guys from other boats who had become accustomed to expletives booming out the yard realised that I might be on the ledge so gave me a hand and weirdly, we are still friends to this day. Result.
The other massive pain was getting the prop put on. No a massive job in itself – unscrew old nut, take old prop off, put on new prop, put on new nut. It was the last task in that small list that had stopped that whole job from occurring all the way back in Athens when it was delivered. At that time, the but that was delivered with it was too small, although when the old nut came off it revealed that the thread on both the shaft and the old nut were damaged but also that the new nut was too small. The nut was taken away and the thread enlarged to “fit” the shaft but still wouldn’t go on, so we had the new prop in the boat for 4 months before it could be fitted and had to revert back to the original piece of absolute shit. As it was a diver under the boat in Athens in dirty water, I couldn’t see what was going on but it was reported that the shaft was too damaged to fit the new nut. This meant that the main plan for Almerimar would be to had the shaft sent off to a machine shop and either repair the thread at it’s original size or machine the thread down to make it a smaller diameter, then fit a smaller nut. Once the boat was out of the water and I looked at it, the thread wasn’t bad at all and I cleaned it up with just a thread file, so that turned our attention to the nut itself. Now, I realise this is all quite boring but I’m pretty sure my uncle PJ will still be reading so I’ll carry on with the detail. The shaft thread is M24 (essentially 24mm) and the nut provided had M19 stamped on it even though Brunton's were adamant this meant that is was their code for a M24 nut, despite it being too small.... In Greece the supplier took the nut away and had it machined out to “24mm”, or so it was claimed. When I tired to screw it on in Almerimar I could see that it was still too small so a bloke in the yard took it away and machined it out to 24mm. Unfortunately, this highlighted that the enlargement in Greece was off centre – a massive achievement on a lathe – so the nut was useless. A call to Bruntons Propellors got nowhere and they could supply a new one but thanks to Brexit far beyond Tu Meke’s time out of the water. In a massive stoke of luck, the bloke in the yard had a new nut turned in record time for Spain and it was perfect. On our last day, our very expensive boat ballast under the port cabin was finally under the boat where it belonged.
All the while, the team put in a great effort to paint the bottom of the boat it’s delightful new colour of Navy Blue and it looked awesome once done. For the new paint, we went with a self-polishing number that is favoured in the med but also super useful in the fouling waters of the Caribbean. This definitely did what it said on the tin and the effect of having a super clean bottom on boat speed is incredible. It did however have one major downside which will be saved for another blog and cover off many more expletives. The tremendous highs and lows of yachting! Also there was a massive effort in driving back and forth to the super market every day for Helen, then having the amazing job of fitting it all in the boat in a way that it can come out again in a reasonable state and order, plus documenting where it all is. Fortunately, apartments in the small town were super cheap and so we were able to not live on the boat for this time. That would have tipped us all over the edge as the town was quite nice, but the boat yard and subsequently the boat was a toxic mess. Took ages to clean it all off. The other huge bonus of Almerimar is that it’s a very popular place for lots of other boats and families to get ready to cross the Atlantic, so there were heaps of friends for the kids and they would take off each non painting day and hang out with other kids,, have sleepovers and inbetween school and painting had a blast. Some of whom we’ve met up with (we are beside one family today) and have a long lasting friendship as a result. The other plus was for us meeting new friends too, meals cooked together and good beer action at the end of each day, swapping stories of what shitty task we all completed that day. That part of it was really good fun..
Right, this is long enough and has taken long enough. Time for a swim in the bay! Well done if you are still reading, I tuned out ages ago.
Photos below, They are not in order

Out it comes, hopefully the last we'll see of that prop

Boom off, mast next

Coming in or out, too hard to tell
There's a hole in my boat, dear liza, dear liza
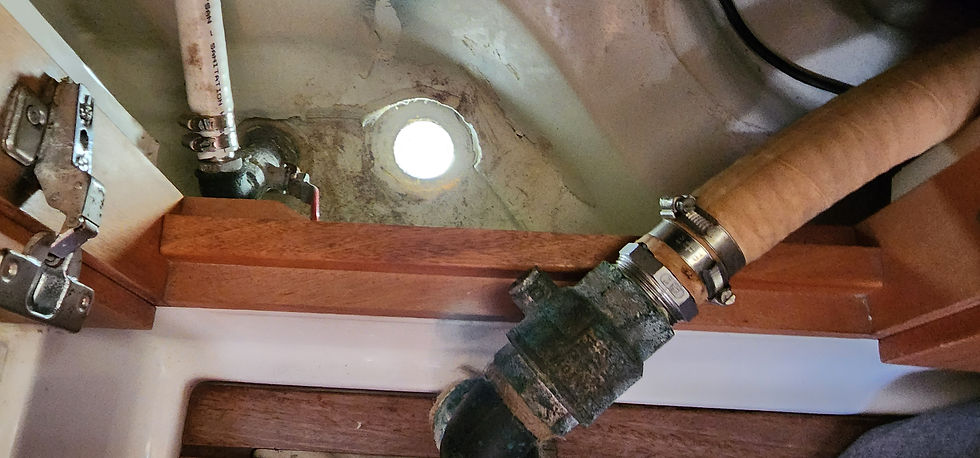
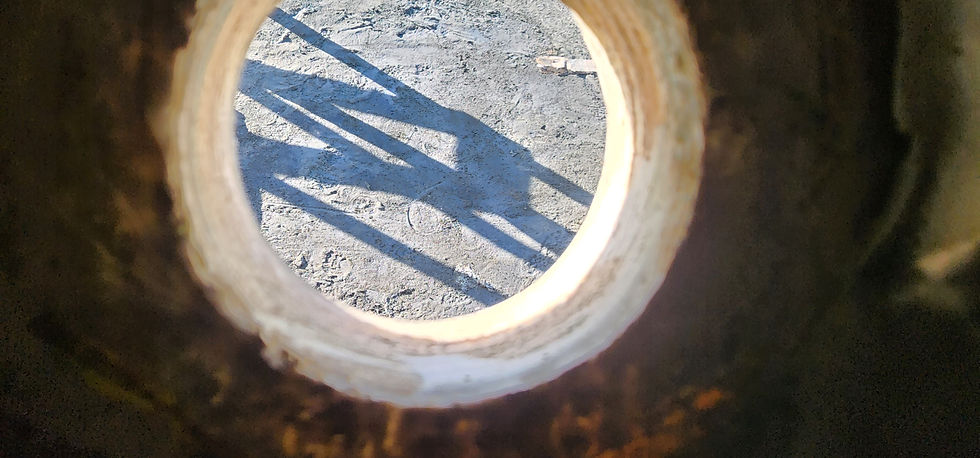
The infamous poo pipe

Boat sanded, ready for antifoul

What a piece of junk

sanded back

paint splatters

On it goes

There are lots of these, go team
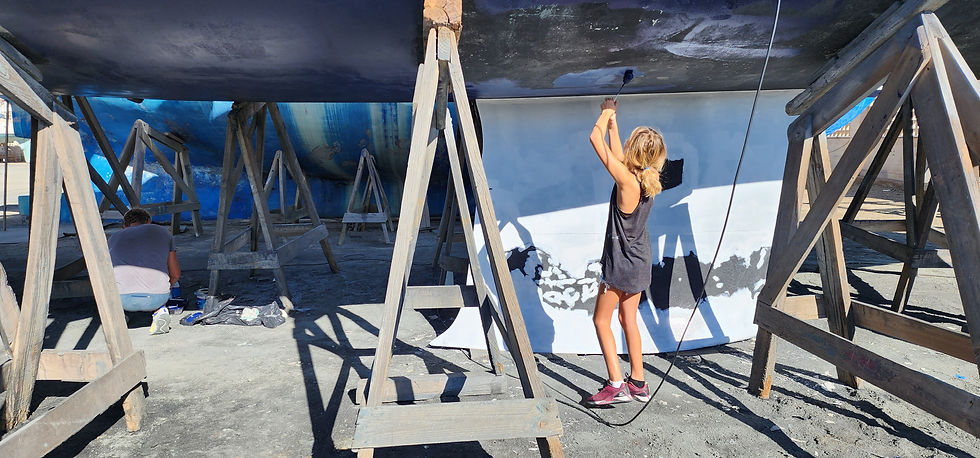
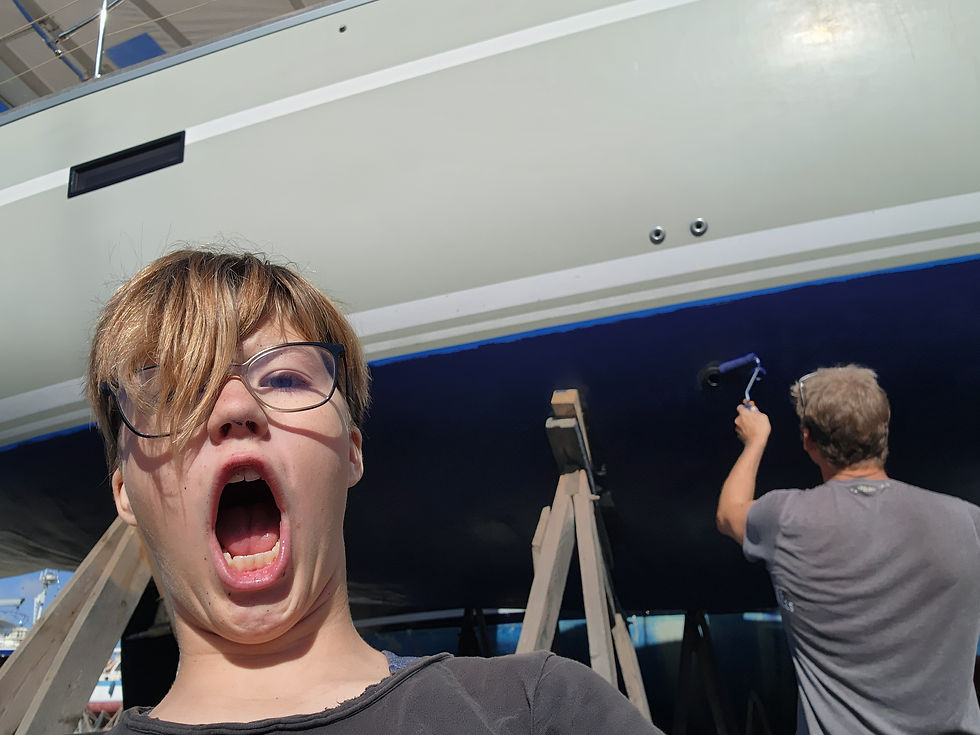
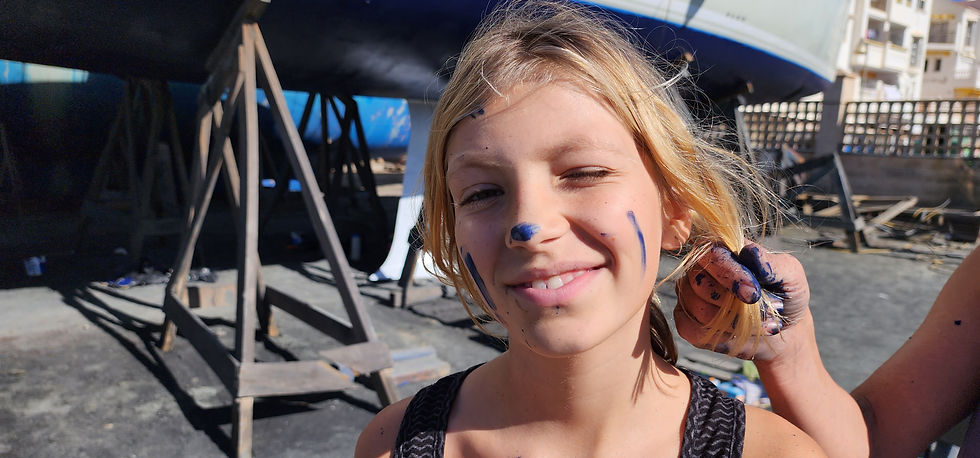
Colette on fire

It's quite a large area from underneath
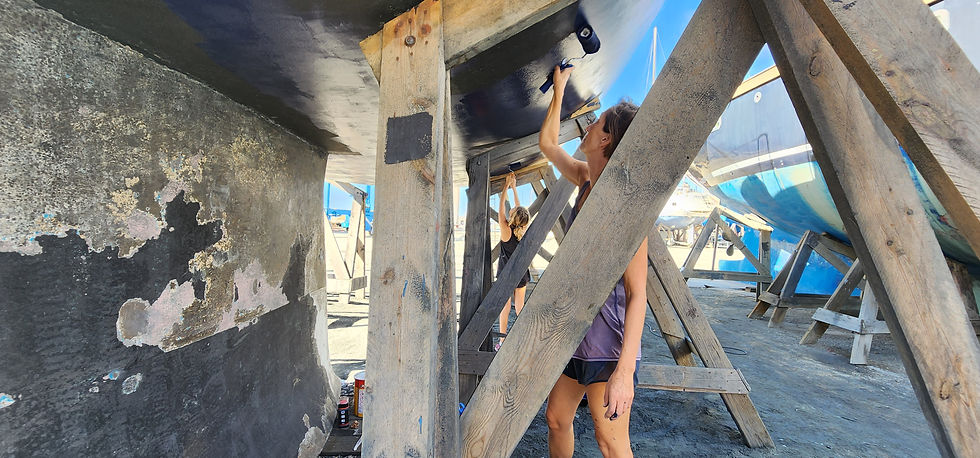
painting

I figured out after painting that I should have dismantled the bow thruster to paint it...
Not sure what's happening here
Yes, very amusing.

anti fouling the loo hole, don't want that one getting blocked up

Colette on fire

most of it went on the boat, but our shoes and several items of clothes are still growth repellent

Ja...
Bit of time out
I dunno

Nat taking a break

Prop shaft and prop not where they should be

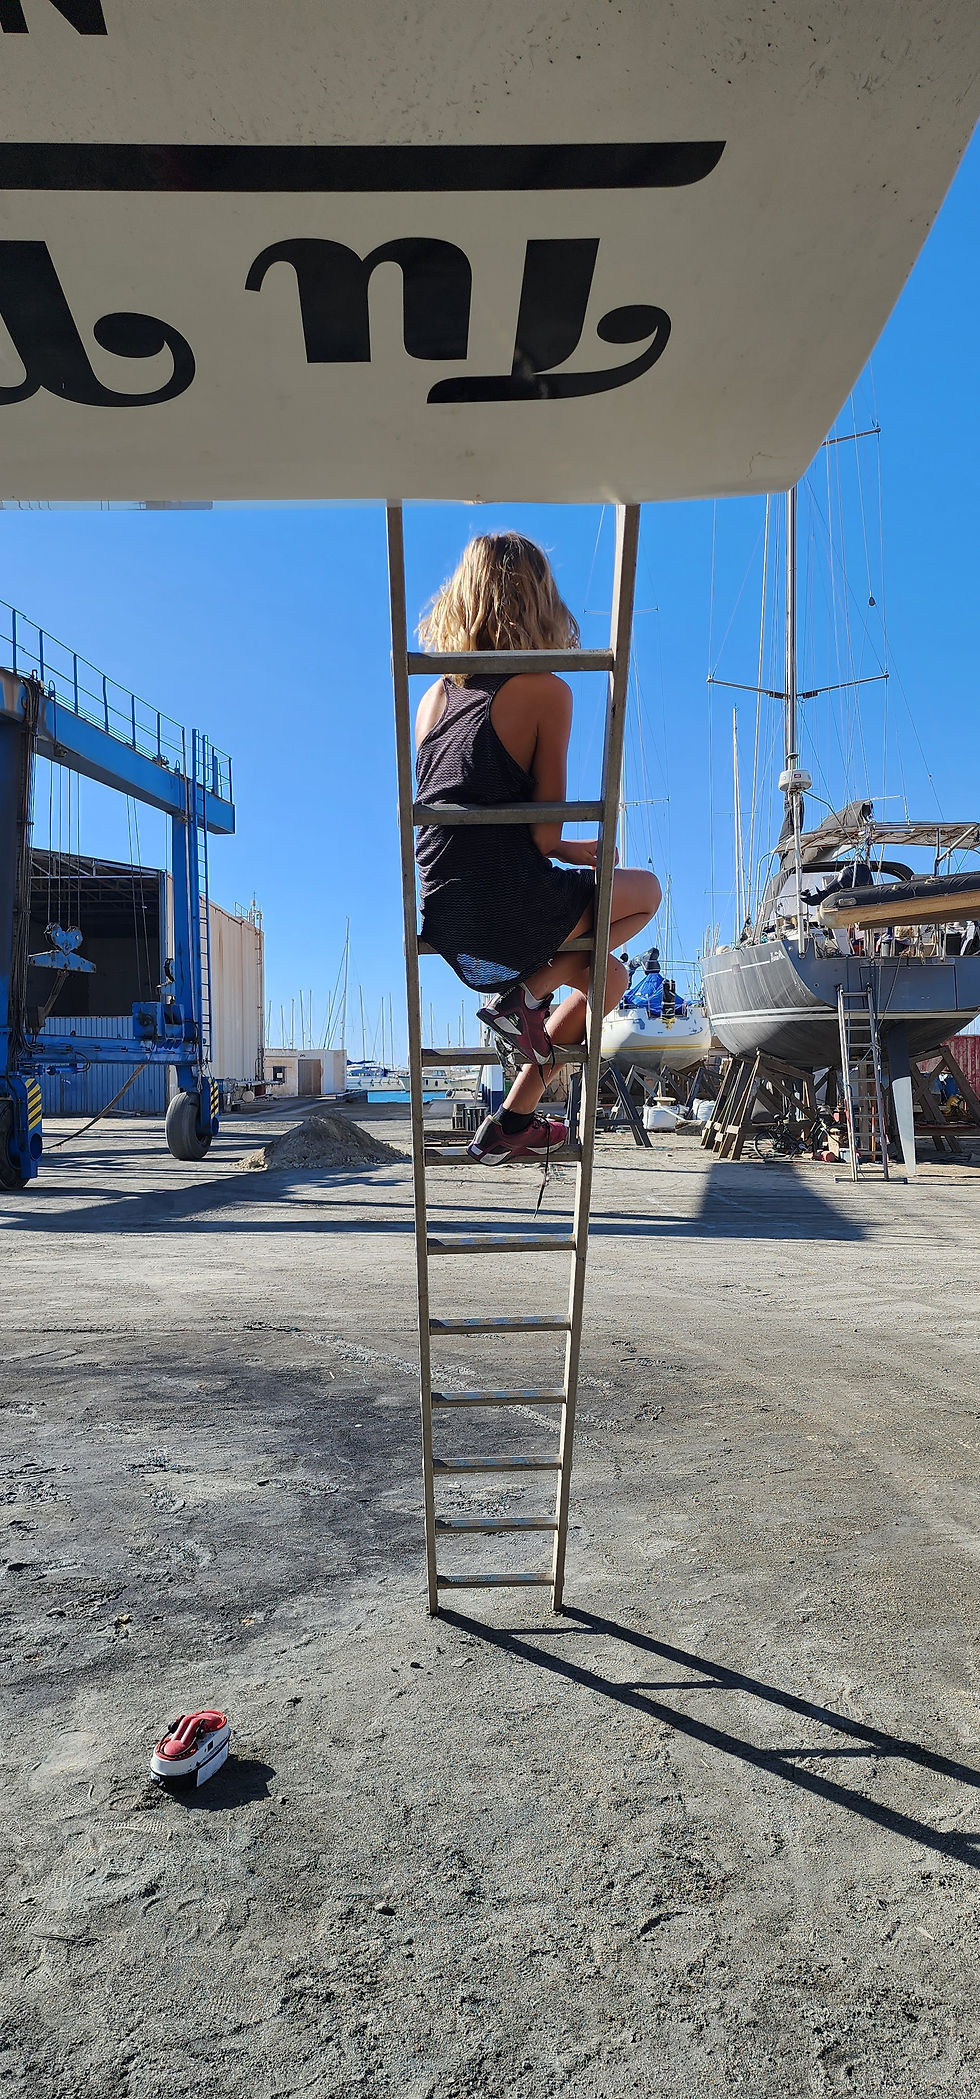
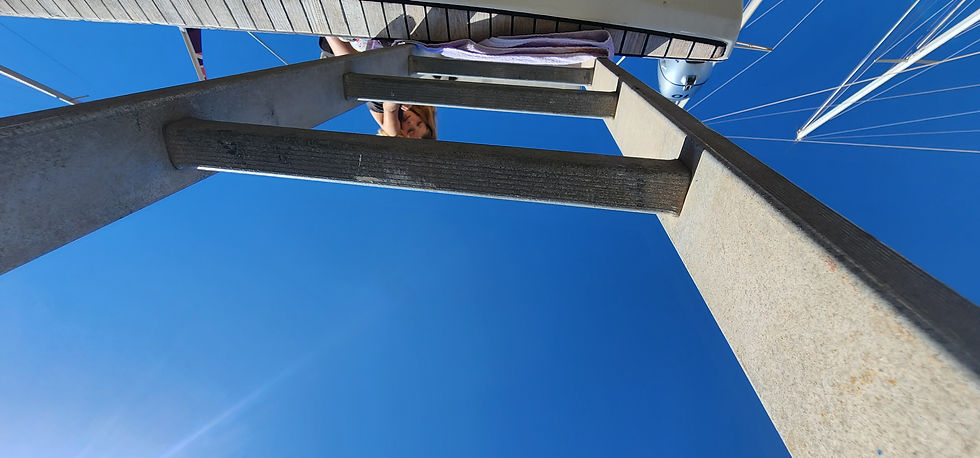
View from the top

awwwwwwww

Finally, at times I didn't think this moment would come

This is after machining so it does actually fit in there

one of the many photos back and forth to bruntons

New stern gland time, Solid piece of mind
Looking pretty all painted ready for the water

The general chaos of boat work and shopping

awwwwww 2

Back in the water and on goes the mast
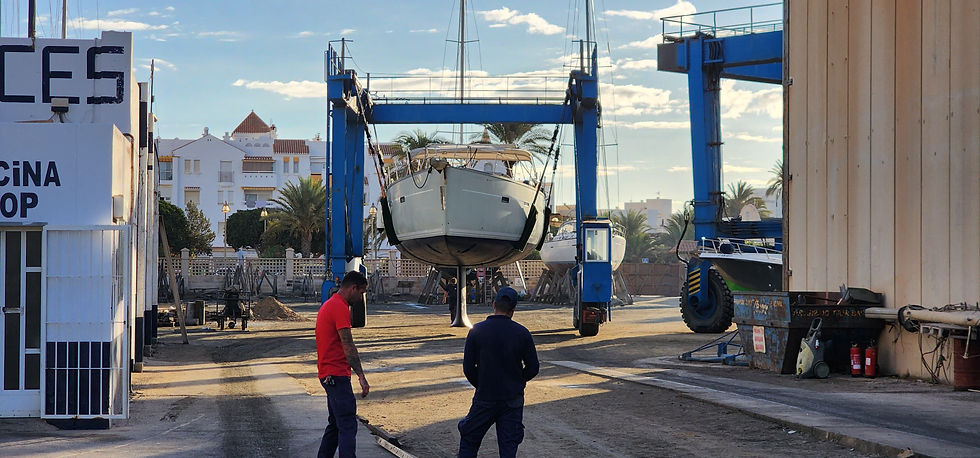
Back into the water
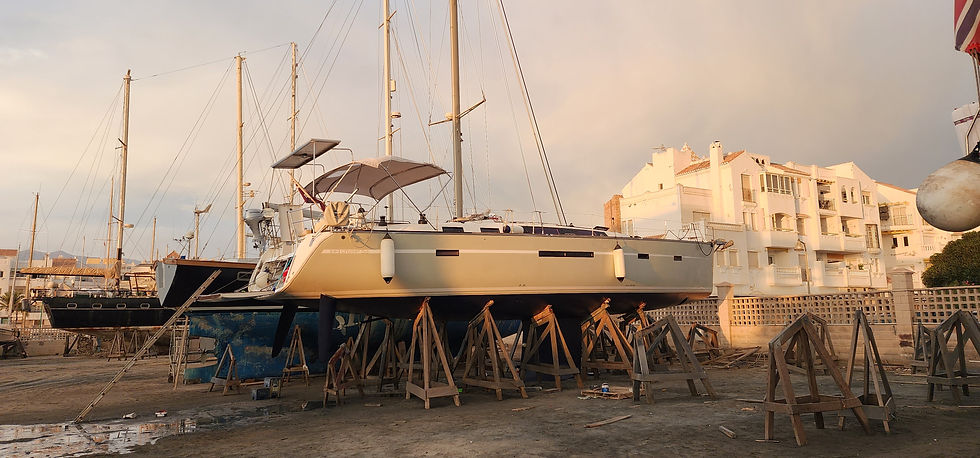
All done, back in the water day


Today I learnt that boats have glands. Nice work you guys!!!
Wow! What a blog.... probably took as long to write as the time the boat was out the water!